
Why Vacuum Sealer Bags Are Essential for Long-Lasting Freshness
Discover how vacuum sealer bags extend food freshness in your fridge, freezer, or pantry—plus my favorite way to preserve garden tomatoes!
SMART COOKING SHORTCUTSTOOLS & KITCHEN SETUPFREEZE & STORE SMART
BY EYA
Why Vacuum Sealer Bags Are a Game-Changer for Keeping Food Fresh
When it comes to keeping food fresh—whether in the fridge, pantry, or freezer—vacuum sealer bags are one of the best investments you can make for your kitchen. These airtight bags remove excess air, which is the main culprit behind spoilage, freezer burn, and stale ingredients. By eliminating air exposure, you slow down oxidation, mold growth, and moisture loss—extending the shelf life and preserving the flavor, texture, and nutrients of your food.
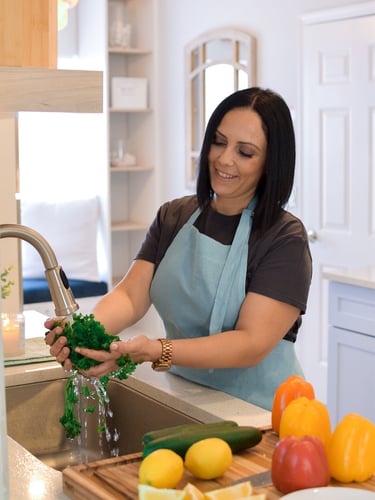
Welcome To Smart Kitchen BY EYA
Hi, I’m EYA — here to help you cook smarter, save time, reduce food waste, and make the most of every corner of your kitchen.
From Pantry Staples to Freezer Favorites
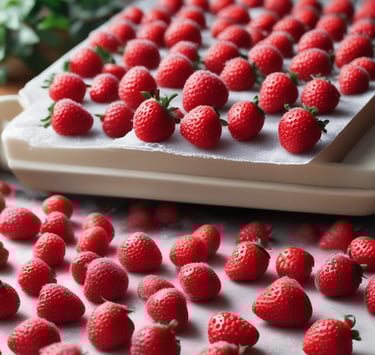
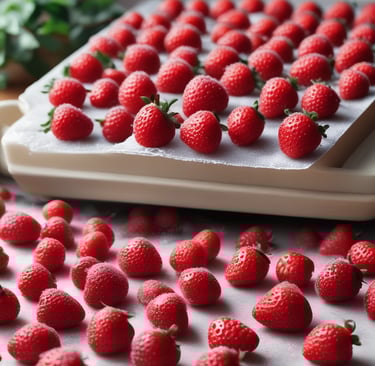
Vacuum sealing isn’t just for meat or bulk-buying enthusiasts. You can use it for dry pantry items like rice, flour, and nuts to prevent pest infestations and moisture damage. In the fridge, vacuum sealing cheese, herbs, or prepped meals keeps them fresh for days longer than traditional storage methods. And in the freezer? It’s the key to preventing freezer burn on everything from berries and bread to soups and stews.

Freezer tips
How to Vacuum Seal Garden Tomatoes for Freshness All Year
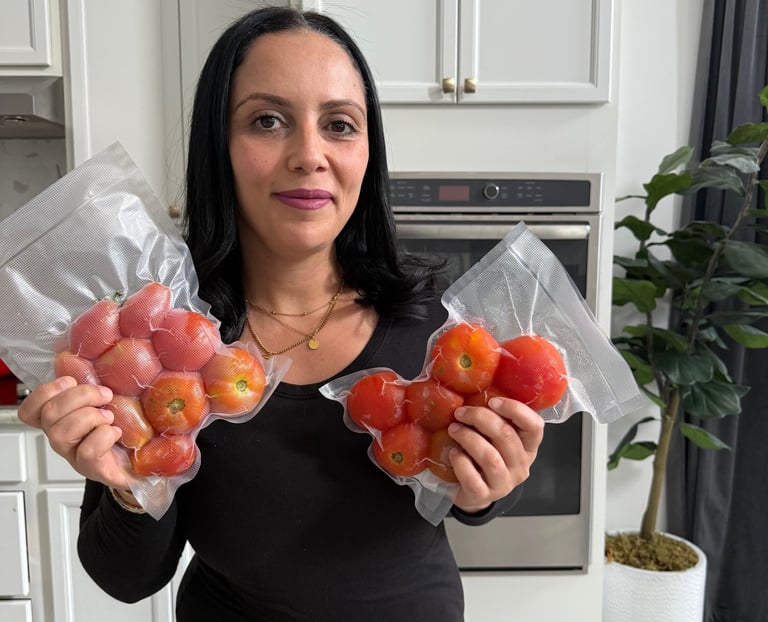
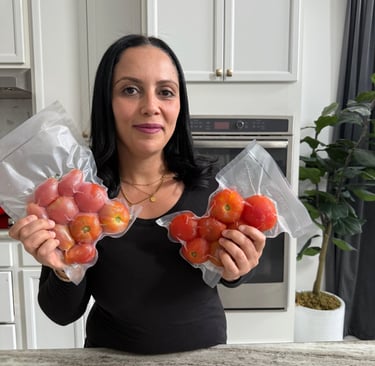
My Favorite Use: Vacuum Sealing Garden Tomatoes
One of my absolute favorite ways to use vacuum sealer bags is with tomatoes from my garden. At the end of the summer, I’m often swimming in ripe, juicy tomatoes. Instead of letting them go to waste, I vacuum seal them whole—no peeling or chopping—and store them in the freezer. It’s quick and mess-free. Once I’ve collected enough, I thaw them out and cook up a big batch of homemade tomato sauce. The flavor of garden tomatoes, even months later, is unbeatable—and vacuum sealing locks in that freshness perfectly.
Smart and Sustainable
Vacuum sealing also helps reduce food waste and saves you money. When you preserve ingredients properly, you're less likely to toss out forgotten leftovers or spoiled produce. Plus, you can buy in bulk or preserve seasonal ingredients without worry. If you're into meal prep, gardening, or just tired of tossing out wilted spinach and freezer-burned chicken, vacuum sealing is a habit worth starting.
DID YOU KNOW?
There are common freezer mistakes that can sneak in even with foods like tomatoes, grab our free guide “10 Foods You’re Freezing Wrong (And How to Fix It)” to make sure you’re saving time, money, and flavor every time you freeze!

How to vacuum seal garden tomatoes
Vacuum sealing your garden tomatoes is an easy, mess-free way to preserve their flavor and freshness until you're ready to make sauce, soup, or stew. Here's a step-by-step visual guide to help you do it right:
Step 1: Gather Your Supplies
Ripe, clean tomatoes (no need to peel or chop)
Vacuum sealer machine
Vacuum sealer bags (quart or gallon size depending on quantity)
Marker for labeling
Step 2: Prep the Tomatoes
Wash tomatoes thoroughly and pat them dry.
Remove stems, and check for any bruises or spots. Discard any damaged tomatoes.
Step 3: Bag the Tomatoes
Place whole tomatoes into vacuum sealer bags.
Avoid overfilling; lay tomatoes in a single layer for best results.
Step 4: Vacuum Seal
Insert the open end of the bag into your vacuum sealer.
Follow your machine's instructions to vacuum out the air and seal the bag.
You should see the bag tightly hugging the tomatoes.
Step 5: Label and Freeze
Use a marker to write the date and contents on each bag.
Store bags flat in the freezer to save space and allow even freezing.
Step 6: Use for Sauce
When you're ready to cook, simply take out the sealed tomatoes and let them thaw.
The skins will slip off easily once thawed, making them perfect for sauces.
Combine several bags if you want to cook a large batch.
Pro Tip: If your vacuum sealer has a "moist" setting, use it for tomatoes to ensure a strong seal.
Vacuum sealing lets you capture the peak flavor of summer tomatoes and enjoy it long after the season ends. Whether you’re preserving a small harvest or putting up pounds of produce, this method is a smart, simple solution for your freezer pantry!
Want to be smarter in the kitchen?
Check out My Free Guide: 10 Foods You’re Freezing Wrong (And How to Fix It)
Follow me on YouTube and Instagram for daily inspiration, kitchen hacks, and deliciously smart storage ideas.

Join the Smart Kitchen Community
If you love tips on freezing, storing, and enjoying food the smart way, you're in the right place! Don’t forget to Grab my Free Guide: 10 Foods You’re Freezing Wrong (And How to Fix It)
📝 Looking for more kitchen-smart recipes? Explore the Recipes section of the blog.